You’re evaluating storage tank options and the choices feel overwhelming. Welded tanks take weeks to install and lock you into fixed capacity. Concrete options crack and leak over time. Meanwhile, your project timeline is tight and your budget doesn’t have room for costly mistakes down the road.
Bolted storage tanks solve these problems. They install faster, adapt to your changing needs, and require less ongoing maintenance than traditional options. Whether you’re storing water for fire protection, managing industrial liquids, or planning municipal infrastructure in Nassau County, NY, understanding how bolted systems work gives you a real advantage.
Let’s break down what makes these modular tank systems different and why they’re trending across industries.
What Are Bolted Storage Tanks and How Do They Work
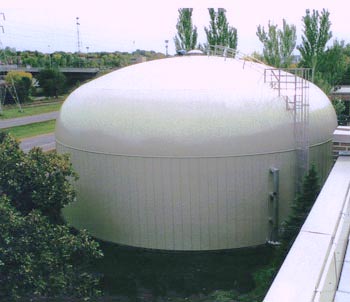
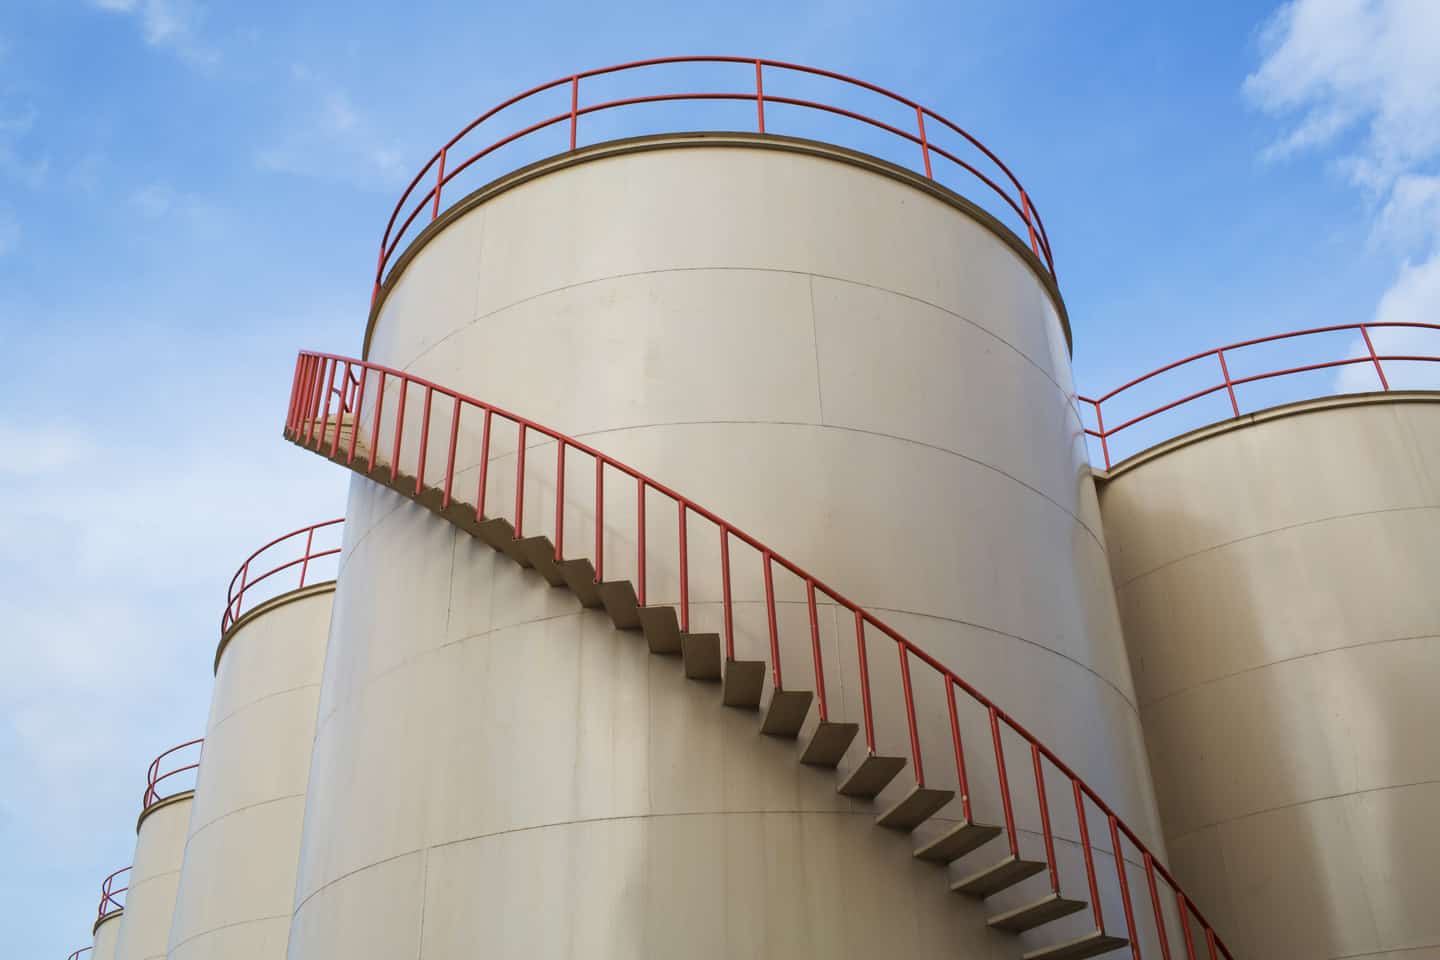
Bolted storage tanks are modular structures built from pre-fabricated steel panels that arrive at your site ready for assembly. Unlike welded tanks that require skilled labor and weeks of on-site fabrication, bolted systems use precision-engineered panels manufactured in controlled factory environments.
Each panel gets coated with corrosion-resistant materials before it ever leaves the facility. That means you’re not dealing with field-applied coatings that can fail due to weather, humidity, or inconsistent application. The panels connect using high-strength bolts and engineered gaskets that create watertight seals without welding.
The real advantage shows up during installation. Your crew can assemble these tanks using common hand tools and straightforward instructions. No specialized welding certifications required. No waiting for weather windows to apply coatings. The modular design also means you can expand capacity later by adding rings to increase height, something impossible with welded or concrete tanks.
Bolted Tanks vs Welded Tanks: Key Differences That Matter
The choice between bolted and welded tanks comes down to installation speed, long-term flexibility, and total cost of ownership. Welded tanks require extensive on-site work. Steel plates arrive in pieces, then crews weld them together, sandblast the surface, and apply protective coatings—all while exposed to weather conditions that can compromise quality.
Bolted tanks flip that process. Factory-controlled manufacturing ensures consistent panel quality and coating application. Your installation crew assembles pre-finished components, dramatically cutting on-site labor time. Where a welded tank might take 4-6 weeks to complete, a comparable bolted system can be operational in days.
Maintenance tells an even bigger story. When a welded tank develops coating damage or corrosion, repairs mean cutting, patching, and recoating—expensive and time-consuming. With bolted tanks, you simply unbolt the damaged panel, replace it with a factory-coated panel, and bolt it back in place. The modular design turns major repairs into manageable maintenance tasks.
Cost comparisons get interesting when you factor in the full lifecycle. Yes, bolted tanks may have higher upfront material costs. But faster installation means lower labor expenses. Easier maintenance reduces long-term operating costs. And the ability to relocate or expand the tank adds value that welded options can’t match.
The durability question comes up often. Properly maintained bolted tanks can last just as long as welded tanks—sometimes longer because factory coatings typically outlast field-applied alternatives. The key is following manufacturer guidelines for inspection and maintenance, which we’ll cover in detail later.
One consideration: bolted tanks work best for applications without significant vapor pressure. The bolted seams, while watertight, aren’t designed for pressurized systems. For atmospheric storage of water, chemicals, or bulk materials, they’re ideal. For pressurized applications, welded tanks remain the better choice.
Why Modular Tank Systems Are Gaining Market Share
The storage tank market is shifting toward modular systems for reasons that go beyond just installation speed. Industries are recognizing that flexibility matters as much as initial cost, and bolted tanks deliver flexibility in ways that traditional construction can’t match.
Customization starts at the design phase. Custom bolted tank systems come in virtually any diameter and height configuration. Need to fit an oddly-shaped site? Rectangular bolted tanks exist for that. Planning for future expansion? Design your foundation for maximum capacity now, then add tank rings as your needs grow. This scalability is driving adoption in municipal water systems where demand increases over time.
The environmental angle is pushing change too. Modular construction generates less waste than field fabrication. Factory coating processes capture and recycle overspray rather than releasing it into the environment. And when a tank reaches end of life, the bolted design makes disassembly and material recycling straightforward.
Transportation logistics favor bolted systems in remote locations. Shipping pre-fabricated panels is easier and cheaper than moving massive welded sections that require special permits and equipment. For sites with limited access—think rural water systems or industrial facilities in Nassau County, NY with tight property constraints—bolted tanks often become the only practical option.
The technology itself keeps improving. Glass-fused-to-steel coating systems now dominate the high-end market, offering exceptional corrosion resistance and longevity. Epoxy-coated options provide cost-effective protection for less demanding applications. Advanced gasket materials maintain seals longer with less maintenance. These innovations make modern bolted tanks more reliable than ever.
Industries are taking notice. Municipal water storage, wastewater treatment, fire protection systems, chemical storage, and agricultural applications all show increasing bolted tank adoption. The trend extends into renewable energy too—biogas digesters and thermal storage for solar installations frequently use bolted construction because the modular design accommodates complex internal configurations.
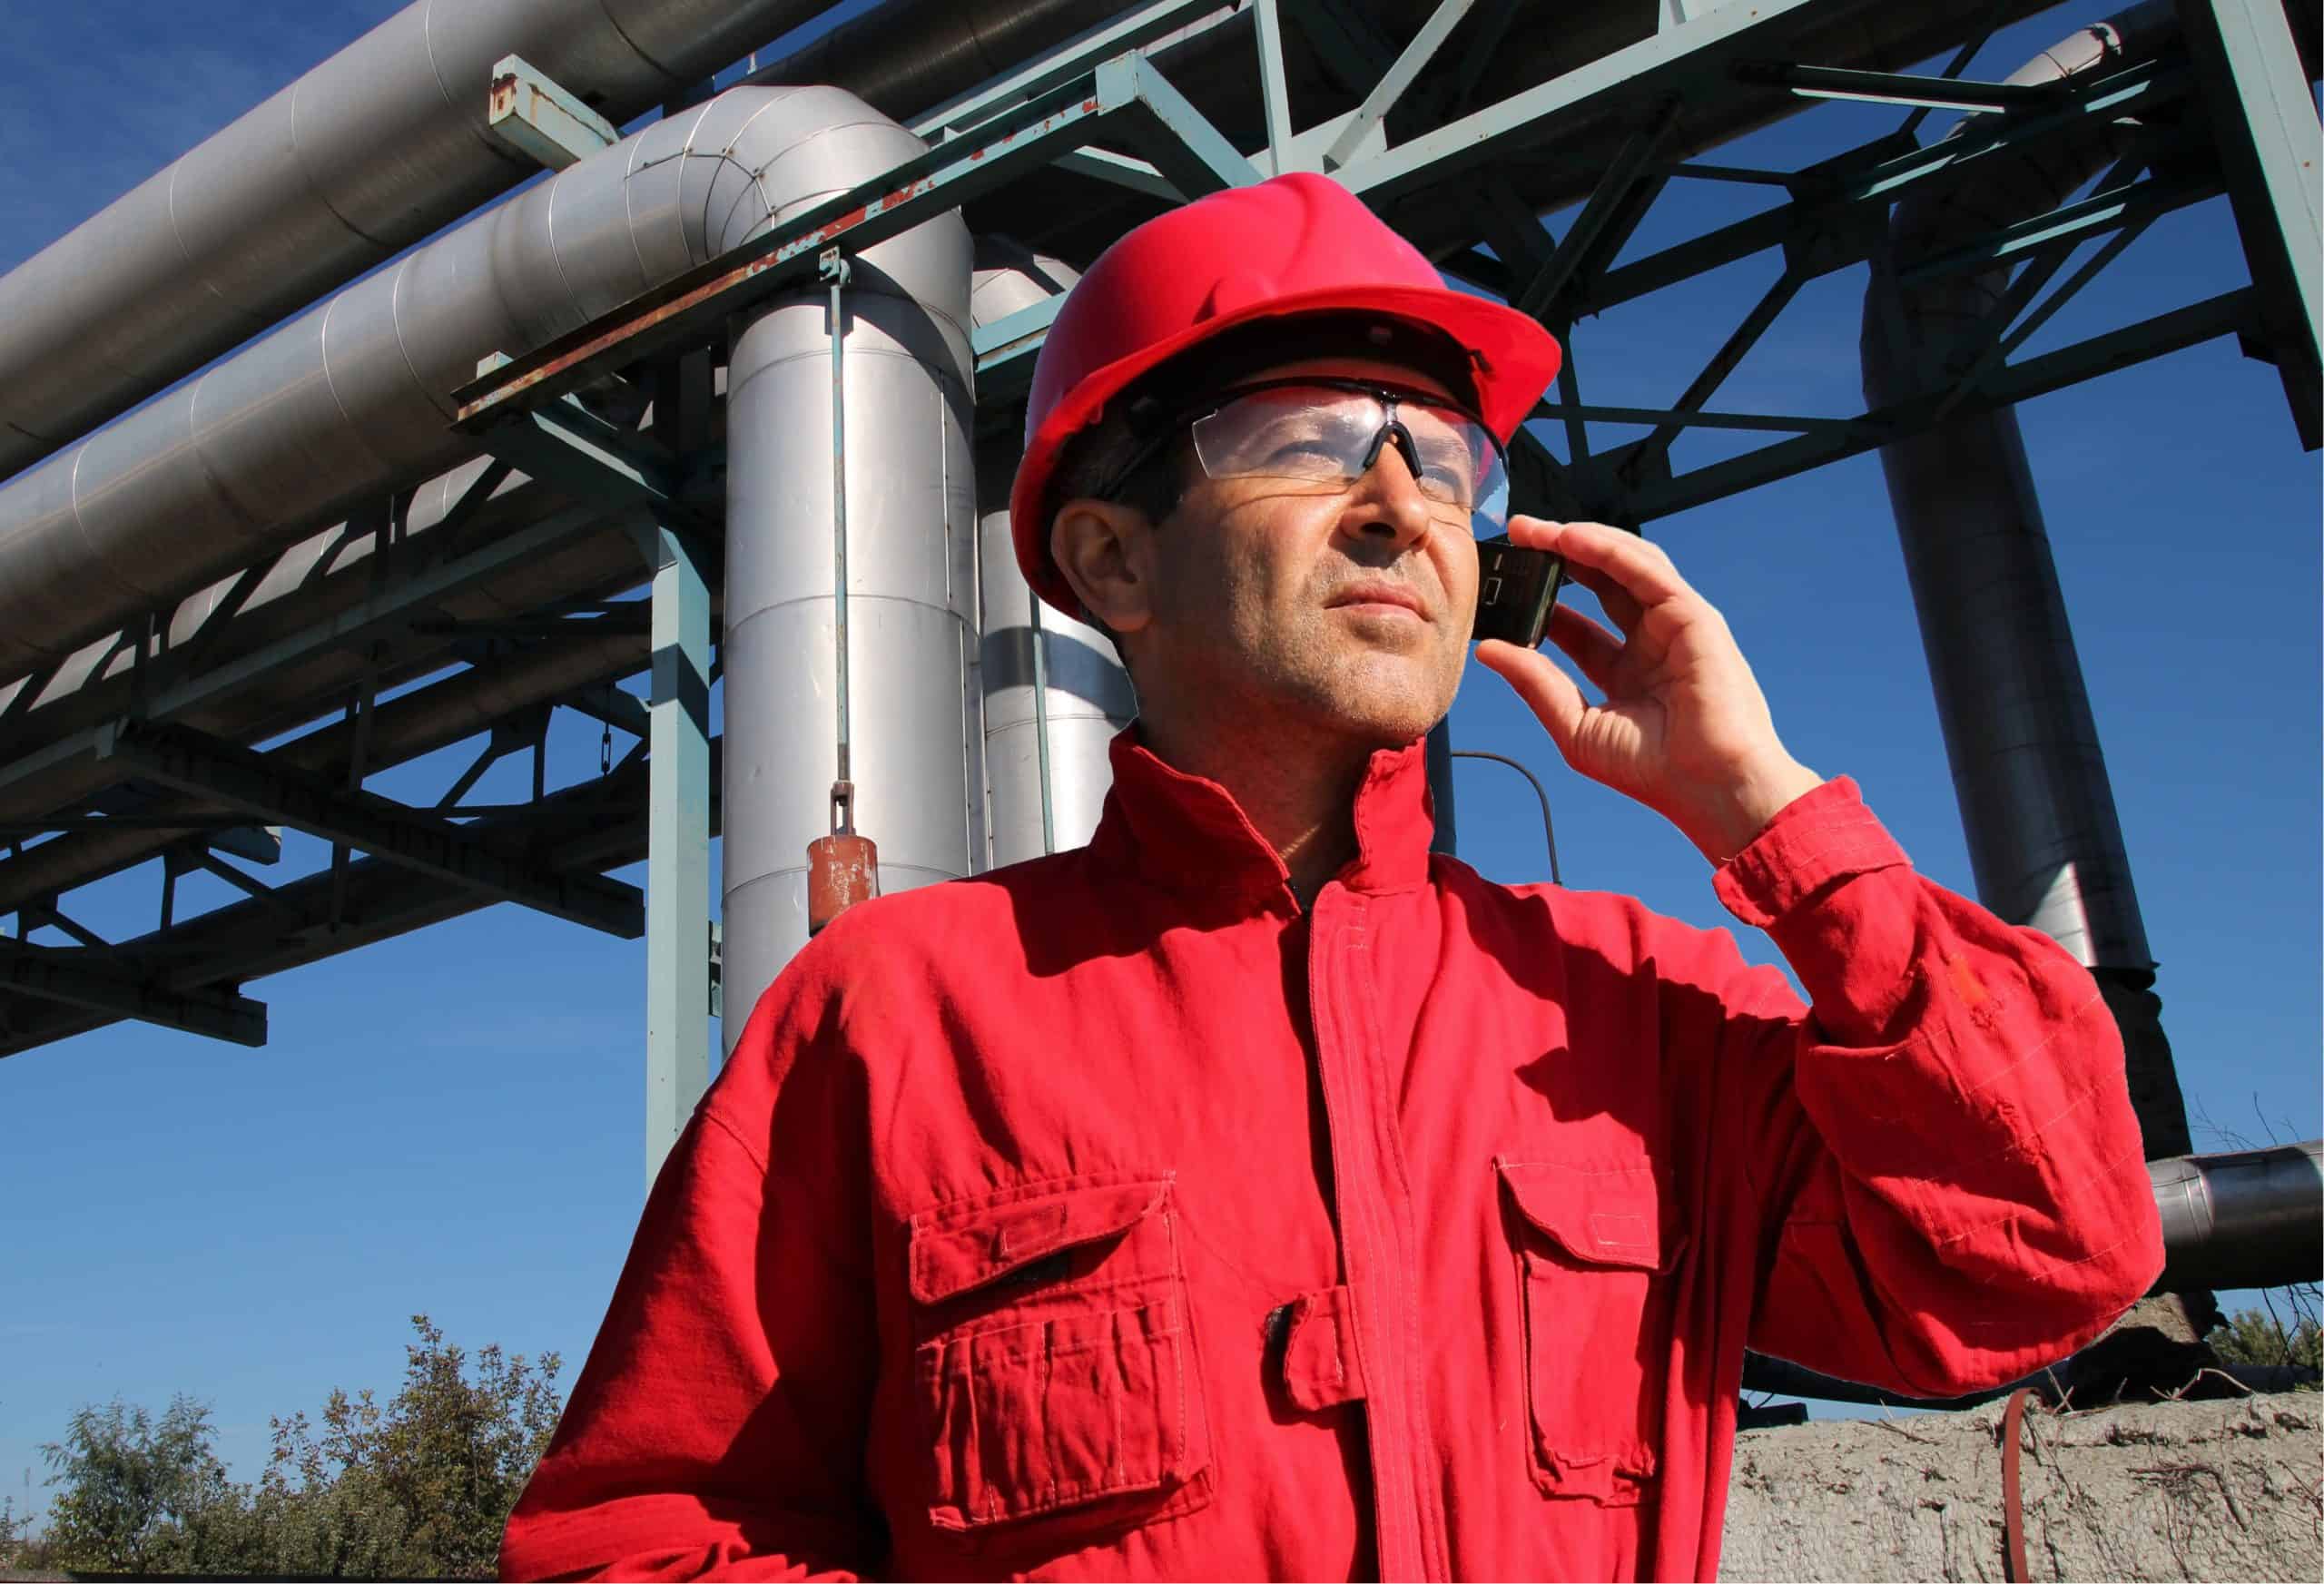
What’s driving this shift in Nassau County specifically? Local regulations around water storage and fire protection are getting stricter. Projects need to move faster to meet compliance deadlines. And with skilled welders in short supply, the ability to install tanks without specialized labor becomes a competitive advantage. Bolted systems check all these boxes.
Bolted Tank Installation Process and Best Practices
Getting installation right determines how well your tank performs for decades. The process starts long before panels arrive on site. Site preparation makes or breaks the project. You need level ground, proper drainage, and a foundation engineered for your tank’s size and the loads it will carry.
Foundation options include concrete ring walls, full concrete slabs, or compacted gravel bases depending on tank size and soil conditions. Geotechnical testing isn’t optional—you need to confirm bearing capacity before you build. Soil that seems solid can settle unevenly under load, causing structural problems that are expensive to fix later.
Assembly follows a logical sequence. Bottom panels go in first, creating the tank floor. Then shell panels stack vertically, ring by ring. Crews use jacking systems to raise completed rings, allowing the next ring to be installed underneath. This ground-level assembly keeps workers safe and speeds up the process.
Bolt torque matters more than most people realize. Too loose and seals leak. Too tight and you risk damaging gaskets or stripping threads. Manufacturers provide specific torque specifications for each bolt size and location. Following these numbers precisely ensures proper gasket compression and watertight seals.
Site Preparation and Foundation Requirements
Foundation work determines whether your tank lasts 20 years or 50 years. Start with thorough site evaluation. You need soil testing to confirm bearing capacity—typically 3,000 to 4,500 PSF for most tank applications. Soft or unstable soil requires either soil stabilization or a more robust foundation design.
Leveling is critical. The foundation must be flat within tight tolerances, usually within 1/8 inch over the tank diameter. Uneven foundations create stress concentrations in the tank shell that lead to premature failure. Professional contractors use laser levels and careful grading to achieve the required flatness.
Concrete ring wall foundations work well for most applications. The ring wall sits under the tank perimeter, distributing weight around the circumference. This design uses less concrete than a full slab while providing excellent support. The ring wall needs proper reinforcement—rebar sized and spaced according to engineering calculations, not guesswork.
Full concrete slabs make sense for larger tanks or sites with marginal soil conditions. The slab spreads the load over a wider area, reducing pressure on the underlying soil. It also provides a smooth, level surface that simplifies tank assembly. Budget for 4,000 PSI concrete minimum, with thickness based on tank size and soil conditions.
Drainage around the foundation prevents water accumulation that can undermine the base or accelerate corrosion. Grade the surrounding area to direct water away from the tank. Consider installing a gravel drainage layer around the perimeter. In areas with high water tables, you might need a more elaborate drainage system with perforated pipes.
Access planning often gets overlooked until panels arrive. You need clear paths for delivery trucks and space to stage materials. Crane access matters if you’re using lifting equipment. Think through the assembly sequence and make sure crews can move panels from staging areas to the installation location efficiently.
Weather protection during installation isn’t always necessary, but it helps. Bolted tanks can be assembled in most weather conditions, which is one of their advantages. However, extreme conditions—heavy rain, high winds, or freezing temperatures—can slow work and affect quality. Plan your installation timing to avoid the worst weather when possible.
Assembly Steps and Quality Control Checkpoints
Proper assembly technique prevents problems that show up months or years later. Start with a complete parts inspection before you begin. Check every panel for shipping damage, verify coating integrity, and confirm you have all fasteners and gaskets. Missing or damaged components discovered mid-assembly cause costly delays.
Panel placement follows manufacturer specifications exactly. Bottom panels typically overlap in a specific pattern that ensures structural integrity and leak-free seams. Get this wrong and you’ll fight leaks throughout the tank’s life. Most manufacturers provide detailed assembly drawings—follow them precisely rather than improvising.
Gasket installation requires attention to detail. Gaskets must be clean, dry, and positioned correctly before panels are joined. Dirt, moisture, or misalignment compromises the seal. Many installers apply a thin bead of approved sealant along with the gasket for extra insurance, but check manufacturer guidelines first as some coating systems don’t allow additional sealants.
Bolt tightening follows a specific sequence and torque specification. You can’t just tighten bolts randomly or by feel. Start at one point and work systematically around the circumference, tightening in stages. First pass brings bolts to finger-tight, second pass to 50% of final torque, third pass to full specification. This staged approach ensures even gasket compression and prevents distortion.
Re-torquing is standard practice. After the initial assembly and before filling the tank, go back and check bolt torque. Gaskets compress as they seat, which can reduce bolt tension. A final torque check after the tank has been filled and allowed to settle catches any additional relaxation. This step prevents leaks that develop after commissioning.
Testing confirms your work before the tank goes into service. Hydrostatic testing is standard—fill the tank with water and inspect all seams for leaks. Some specifications require pressure testing beyond normal operating levels. Visual inspection during testing catches problems while they’re easy to fix. Small leaks at this stage usually just need bolt adjustment or additional sealant.
Coating inspection shouldn’t be skipped. Even though panels arrive with factory coatings, shipping and assembly can cause damage. Walk the entire tank interior and exterior looking for scratches, chips, or holidays in the coating. Touch up any damage immediately using manufacturer-approved repair materials. Unprotected steel starts corroding quickly, especially in humid environments.
Documentation matters for warranty and future maintenance. Record bolt torque readings, note any repairs made during assembly, photograph the completed installation, and keep all manufacturer documentation organized. This information becomes invaluable when questions arise years later about installation details or when planning maintenance.
Making Bolted Storage Tanks Work for Your Project
Bolted storage tanks deliver real advantages when you need installation speed, future flexibility, or easier maintenance than traditional options provide. The modular design, factory-quality coatings, and straightforward assembly process make them practical for applications ranging from municipal water storage to industrial chemical containment.
The key to success is proper installation and consistent maintenance. Get the foundation right, follow assembly specifications precisely, and stick to a regular inspection schedule. Do these things and your bolted tank will provide decades of reliable service with lower total cost of ownership than welded alternatives.
For projects in Nassau County, NY and beyond, we bring over 40 years of experience in bolted storage tank systems and insulation solutions. Our team understands the technical requirements and practical realities of tank installation and maintenance, helping you avoid costly mistakes and maximize your investment.